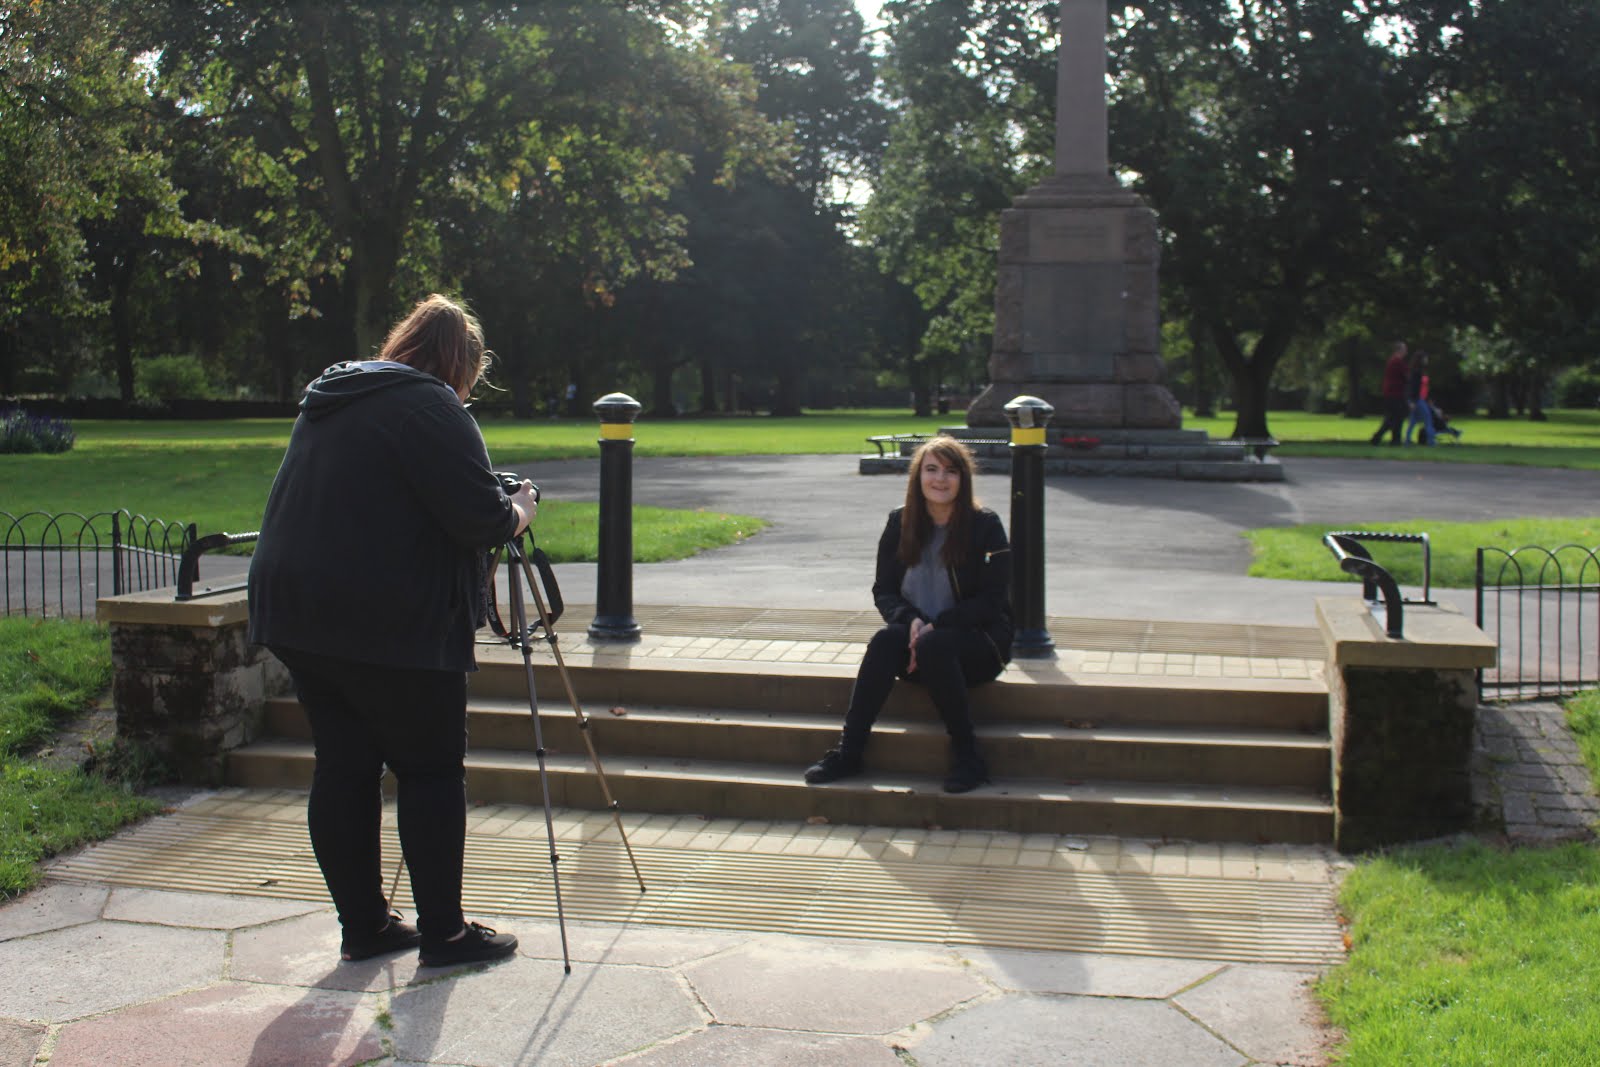
In the studio:I was adamant in to make sure that everyone in the studio was safe when I conducted my shoot in the studio. I was especially careful as to not leave various cables and wires around on the floor as a hazard for people to trip over and hurt themselves. When moving the lights around for the various set ups that I needed to demonstrate (Rembrandt, butterfly, etc), I made sure that the lights didn't get too hot or overheat - ensuring that no one in my group burnt themselves. Outside: When I was out shooting in Birmingham in in the Nuneaton area, I made sure that all of the camera equipment was supervised so that non of the general public could harm themselves by falling over or bashing into the tripods (etc). The image bellow is of behind the scenes while me and a small group were out shooting Nuneaton.
There are numerous different types of lighting and lighting set ups that can be used to create a dramatic or interesting look in both photography and film texts. In my short video, shot in the photography studio, I tried out a few of these - which I am going to list below. Rembrandt lighting is the style of lighting where one side of the face lit up and the otherwise is in darkness except for a triangle of light below the eye (as shown in the image opposite).
Butterfly lighting is when the light source is above the camera, casting a shadow under the nose forming the shape of a butterfly. This particular style of lighting was very popular around when Hollywood began to produce a large amount of glamorous female stars.
Edge lighting is a slightly harder lighting effect to achieve as the light source has to be directly the other side to the side that the camera. However, it leads to a very dramatic and visually striking image.
Split lighting is a great deal similar to Rembrandt lighting, however there is only one side of the face illuminated causing the other side to be cast in a dark shadow.
This video shows the different types of lighting that can be used (except for High-key and low-key which have included photos of underneath). I found that it was fairly easy to achieve the different uses of high-key lighting and low-key lighting because altering the ISO camera setting made the example of the lighting style a great deal more evident in the video. Using the photography studio I was able to create most of the lighting techniques as the amount of unwanted light entering the image was greatly decreased.
This video consists of a few of the lighting set ups that I used that are of a more experimental appearance, showing a further exploration of lighting techniques and the effect that they have on the video.
This video shows various different types of editing that can be used in film/moving image texts. It found that for this video, it was harder for me to find the textual examples of each editing types in existing film texts than it was to actually film and edit the pieces together with my own footage. I did for this video, however, decide to leave out some forms of editing (such as shot-reverse-shot) because I didn't want to reuse pieces of footage and confuse myself during the editing process.
This video presents the different types camera shot, including: establishing shot, mid shot and extreme close up. Using different shot types accompanied with aperture can create a range of different emotions for the audience to decode - such as long shot with a shallow depth of field can allow the audience to gain the reading that the subject/character in the scene feels isolated where as an extreme close up with a low aperture could show that the character is scared. There are a few shot types that I missed out due to loosing some of the footage (establishing shot and extreme close up), however, the clips that I do have in the view are very good in the way that they are examples of the shot types. The high angle shot is a very nice example of the type of composition that can be used along with the shot type (as well as being a good example of the technique).
This video is my finished New wave short film, shot in Birmingham using a range of different new wave editing and shot techniques. For this finished piece, I decided to add in non-diegetic sound so that I didn't have to worry about the natural sound picked up by the camera and, in addition, the use of music enabled me to figure out more structure of where I was going to place my jump cuts and other new wave style edits.
Although I am happy with how the overall appearance of the video came out and the way in which it presents/uses a variety of new wave editing techniques, I feel as though it turned out to be more of a music video than a new wave short film. This is because of how the jumps cuts and colour overlays match up almost perfectly with each of the beats or changes in music - I think that the lack of narrative also makes this video look a great deal more like a music video that an a contextual exploration of the new wave and the ways in which it challenged and changed film making through its rule breaking and lack of exposition for its audience.
In addition, I feel as though rather than using the same editing techniques throughout the video, it would have made a stronger example/had a stronger link to the new wave cinema if there had have been a wider range of techniques (both editing and narrative/content wise) used. The ways in which I used jump cuts could also have been more effective if I had made the transitions between scenes/locations more sporadic and disjointed as it would have forced the audience to be aware that they are watching a video/short film - fitting the aim for new wave texts more. My choice of music for this new wave short film, I feel, works quite well as it does not detract from the content or footage being shown on the screen. The lyrics of the song do not fully match up/reflect the "narrative" of the film as well, meaning that there is a further reflection of the new wave style to break normal film text conventions and create an obscure final product.
This is my first draft/rough cut of my new wave short film, including no narrative or sound. I chose to make this so that I could work out the clips that I wanted to use in my film and the different types of editing techniques I will use (mainly the jump cuts).
Having researched range of new waves and beginning to analyse three Czech new wave texts, I have chosen that when creating my own short new wave film I will try to draw upon a variety of techniques from a range of new wave films and follow the new wave idea/concept of breaking the formulaic Hollywood rules for film making- mainly the most common conventions such as: jump cuts, colour overlays, lack of narrative and obscure camera movements. I am going to keep the length of my short film around 3-5 minutes long as I think that will give me ample time to exercise a range of new wave techniques without dragging on too long. My plan is to compile a wide variety of shots from a large number of locations that I visit in the Birmingham city area. This should make it easy for me to edit in numerous new wave techniques such as jump cuts and colour overlays. I aim to use mainly, if not completely, non-diegetic in my short film so that I don’t have to worry about the diegetic sound picked up by the camera when filming around Birmingham. The use of putting the film to music means that I can add some structure to the jumps cuts that I put in as I can aline them with beats/changes in the song. For lighting and camera settings, I will be using natural (and unpredictable) lighting and keeping the footage hand held - fitting in with the new wave aim to break typical Hollywood film making conventions and rules. I am going to try to keep the exposure correct, however, I feel as though changing the shutter speed could mean that the overall effect of the footage and video could be more creative and obscure. In terms of shot types, I’m going to try and use a wide variety of different types of camera shots and angels, meaning that the final cut of the film will have numerous different shots and views rather than just one single camera shot/angle.
To investigate and practice using shutter speed, I chose to shoot three videos at different shutter speeds (1/30, 1/50 and 1/60). When it came to shooting the videos, however, I decided that it would be more effective to show a very high shutter speed as it would be a clearer exploration of the effect of shutter speed on the quality and visuals of the video. This video is shot at shutter speed 1/30, meaning that there is a slight motion blur and the aperture I used had o be very low so as to not over expose it.
To achieve this effect, I chose to use the following camera settings: ISO 200, shutter speed 1/30, 25fps, and aperture 5.8ff. When shooting at such a slow shutter speed, I found that it was difficult to make out the detail of the water and the over look of the video was quite dull.
This scene shot highlights what I mean and shows that the slow shutter speed increases the amount of motion blur and makes the water appear as though it is a smooth continuous stream. I do feel that my choice to shoot a garden hose/water was good though as it means that the full effect of shutter speed on film is evident.
For this video, I shot at shutter speed 1/50 so that the visual appearance of the water would be closer to that which humans see with there naked eye. The shutter speed should always be double the number of the frame rate, for example: if you're shooting at a frame rate of 25fps you should shoot with a shutter speed of 1/50. This means that although the appearance of the water is still smooth, it is what people see with their natural eye - this is also the type of frame rate to shutter speed ratio that most directors and film makers use.
To achieve this effect, I used the following settings: ISO 200, shutter speed 1/50, 25fps, and aperture 7. Because I was shooting at a higher shutter speed, I had to change the aperture to allow less light into the camera and prevent it getting over exposed, however, this meant that I had to refocus the camera.
This scene shot shows that the higher the shutter speed, the less motion blur there is. It also shows the trouble I had when it came to refocusing the camera, however, that could also just be a little amount of motion blur from the garden hose moving as it was hand held.
This final video shows the effect of the shutter speed on the footage at both 1/100 and 1/400. The stream of water presented at this shutter speed shows that there is no visible continuous stream and instead the individual droplets of water and details are clearer.
To achieve these effects, I first set my camera to: ISO 200, shutter speed 1/100, 25fps, and aperture 10; and then to: ISO 200, shutter speed 1/400, 25fps, and aperture 10. As these two shutter speed are quite high, the details are very clear but the exposure also made the lighting a great deal crisper, meaning that it looks more like a photograph or unreal that the other two videos do. Because of this unnatural looking appearance that shooting at such a high shutter speed gives, directors and film makers usually elect not to use it.
These two screen shots show how much detail is visible at high shutter speeds - because there is such a high shutter speed there is very little motion blur. I found that it was a great deal more difficult to focus the camera when using these high shutter speeds because I had to focus on the individual droplets rather than on a constant stream like with the slower shutter speeds.
These are two short videos showing my exploration of ISO and its affect on the footage/footage quality. For these videos, I chose to use ISO 100 to shoot outside and ISO 1600 to shoot inside. The difference in quality that ISO makes is very evident in these videos, the first video (ISO 100) being a very smooth image although a little dark, and the second video (ISO 1600) is a great deal grainier although the footage is brighter. I feel as though these videos are really effective when it comes to showing the effect that ISO can have on the quality of footage. To investigate the effect of ISO on video quality, I chose to set my camera to 24fps, shutter speed 1/50, and an aperture of 5.6ff. As I wanted to explore the full effect of ISO, I decided to keep the exposure as it came out. While shooting this I had some trouble as it was raining and the camera lens kept getting clouded by water landing on it.
This is a short video I made to practice the technique of 'pull focus', this is when the focal point of the frame is changed by pulling the focus from one part of the image to another. Pull focus can be used to great effect when conveying to the audience a different point of interest in the scene or where they should focus. To achieve this effect, I used to following camera settings: 24fps, 1/50 shutter speed, 5.6ff aperture. As I wanted to maintain some quality in the video capture, I had to keep changing the ISO to try to gain the correct exposure. Although I managed to try out and practice this technique, I experienced a great deal of problems due to my hands shaking and there not being a tripod for me to use - this lead to there being some footage that I was unable to use. In addition, I had some instances of footage where the exposure is wrong and the clips have come out too dark/under exposed (this is shown in the coat hangers clip included in the video).
A small documentary where portability is paramount:
1 - LED torch. This is a lighting method for better lighting and the ability to shoot footage during the night if so desired. It is also easily portable as LED lights/lighting rigs can come in a variety of sizes.
2 - Reflector. This will allow the director to bring more light onto subjects close to the frame if necessary. Reflectors are also fairly cheap and fold down to make them very easily portable.
The pros and cons of this type of lighting set-up are that the subject/subject matter of the image will be well lit, however, the amount of light may be too much and the footage could end up being over exposed.
‘Talking Head’ style interview:
1 - Soft box. The use of a soft box creates a more natural lighting of the face and allows the subject to be see clearly (it can also give the footage a softer appearance).
2 - Reflector. This will allow more light to be bought into the image without over exposing the footage.
The pros and cons of this type of lighting set-up are that the director will be able to use a shallow depth of field for the footage, however, the use of natural lighting for the interview could be more effective.
A ‘night time’ shoot:
1 - Spot light/LED torch. This will provide the lighting for the image (if no other natural or environmental source is on hand) as well as being used to highlight certain parts of the scene.
2 - Additional light source. The use of an additional light source could be necessary to create desired effects.
The pros and cons of this lighting set-up are that there will be a good/large amount of light going into the image, however, it could create an unwanted amount of contrast/shadow in the footage or image.
Lighting is a very important technique when it comes to shooting photography and moving image as it can effect both the quality and atmosphere of the scene. The three main components to consider when using a camera are the ISO, aperture and shutter speed. To gain the best quality and correct exposure, each of these settings must be in balance – if not the image/footage will be under exposed (too dark) or over exposed (too bright). In addition, using creative lighting set ups can give an image more dimension and a different appeal all together.
Under Exposed / Correctly Exposed / Over Exposed
There are a variety of different lighting styles to consider when planning a shoot, for example: using low-key lighting style adds more contrast and a darker appearance to an image, whereas using high-key lighting means there is less contrast but a brighter appearance to the image. In addition to this there are the choices to use hard light or soft light, which give the image a sharper look (hard light) or a softer look (soft light). In moving image texts, the villainous character is usually lit with a hard light – occasionally with low-key lighting as well, however it is more common for these two to be combined to light horror films. Low-key lighting and hard lighting can be achieved/created by using a smaller, dimmer light source and a darker room or area, soft lighting and high-key lighting being created in the opposite way (a larger, brighter light source in a more well lit room/area. Where lighting is usually used for visibility and to show the scene to the audience, it can also be used a more stylistic way which tends to be different for each person.
The manipulation and construction of a lighting set-up can vastly alter the look of an image/scene, and allows a person to create and encode meaning and emotion into their product. It also means that the colours, saturation and legibility of the text can be altered – creating a warmer appearance with more orangey hues or a colder and under saturated look.
Bibliography:
Earnest, A (2013) 'Lighting for Production Photography'. Buffalo: Amherst Media.
Lawrence, J (2012) 'Photographing Shadow and Lights'. Amphoto Books.